- Window glazing improves energy efficiency by creating an airtight seal, reducing drafts, and minimizing heat transfer through the glass.
- Signs you may need to re-glaze include cracked putty, loose panes, drafts, condensation, or unusually high energy bills.
- Essential tools and materials include glazing putty or sealant, a putty knife, gloves, safety glasses, utility knife, wire brush, sandpaper, and optional paint.
- Step-by-step glazing process: remove old putty, inspect glass and frame, apply new putty, let it cure, and optionally paint the frame for protection.
- Common mistakes to avoid: applying putty too thinly, skipping glazing points, painting before curing, or ignoring damaged frames.
- Maintenance and additional energy-saving tips: inspect windows regularly, touch up putty as needed, use weatherstripping, thermal curtains, window films, or Low-E glass for extra efficiency.
As a new homeowner, you quickly realize that your energy bills can climb fast if your home isn’t properly insulated. One often-overlooked culprit is windows. Drafty or poorly glazed windows can let heat escape in the winter and allow heat to enter in the summer, driving up your energy costs. Luckily, learning how to glaze a window for energy efficiency is a straightforward project you can tackle yourself. In this guide, we’ll cover everything from tools and materials to step-by-step instructions and energy-saving tips.
What Is Window Glazing and Why Does It Matter?
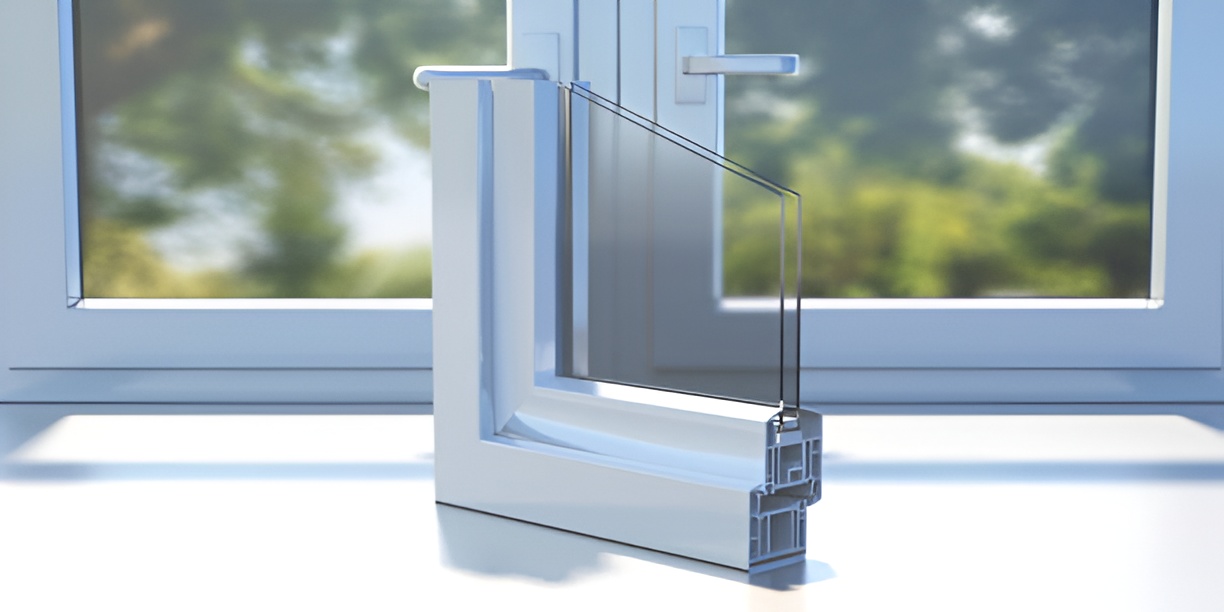
Before we dive into the process, let’s answer the question, “What is window glazing?” Glazing is the process of applying a sealant or putty around a windowpane to hold it securely in the frame and prevent air leaks. Traditionally, glazing was used in wooden windows, but modern methods include energy-efficient seals for vinyl or aluminum frames as well.
Why does this matter for energy efficiency?
- Glazed windows create an airtight seal that reduces drafts.
- Proper glazing prevents condensation, which can damage frames and promote mold growth.
- Well-glazed windows improve insulation, reducing heating and cooling costs.
- It can extend the life of your windows by preventing glass loosening or rattling.
For new homeowners, glazing is not just about keeping the house warm—it’s about protecting your investment and saving money in the long run.
Do You Need to Re-Glaze Your Windows?
Not every window needs re-glazing, but here are signs that your windows might benefit:
- Visible cracks or gaps in the existing putty.
- Rattling or loose window panes.
- Noticeable drafts around the frame.
- Condensation or fog between double panes (older windows).
- High energy bills without any other obvious cause.
If any of these apply, it’s time to learn how to glaze a window for energy efficiency.
Tools and Materials You’ll Need
Before you start, gather all your tools and materials to make the job smooth. Here’s a list:
- Glazing putty or energy-efficient sealant
- Putty knife or glazing tool
- Painter’s tape (optional, for clean edges)
- Utility knife
- Gloves
- Safety glasses
- Wire brush (for cleaning old putty)
- Sandpaper or sanding block
- Paint (optional, for finishing)
- Rags for cleanup
Tip: Choose a high-quality, exterior-grade putty for the best insulation. Some modern sealants are flexible and weather-resistant, making them ideal for energy-efficient glazing.
How to Glaze a Window Step by Step
Learning how to glaze a window for energy efficiency is easier than it looks. Follow these steps:
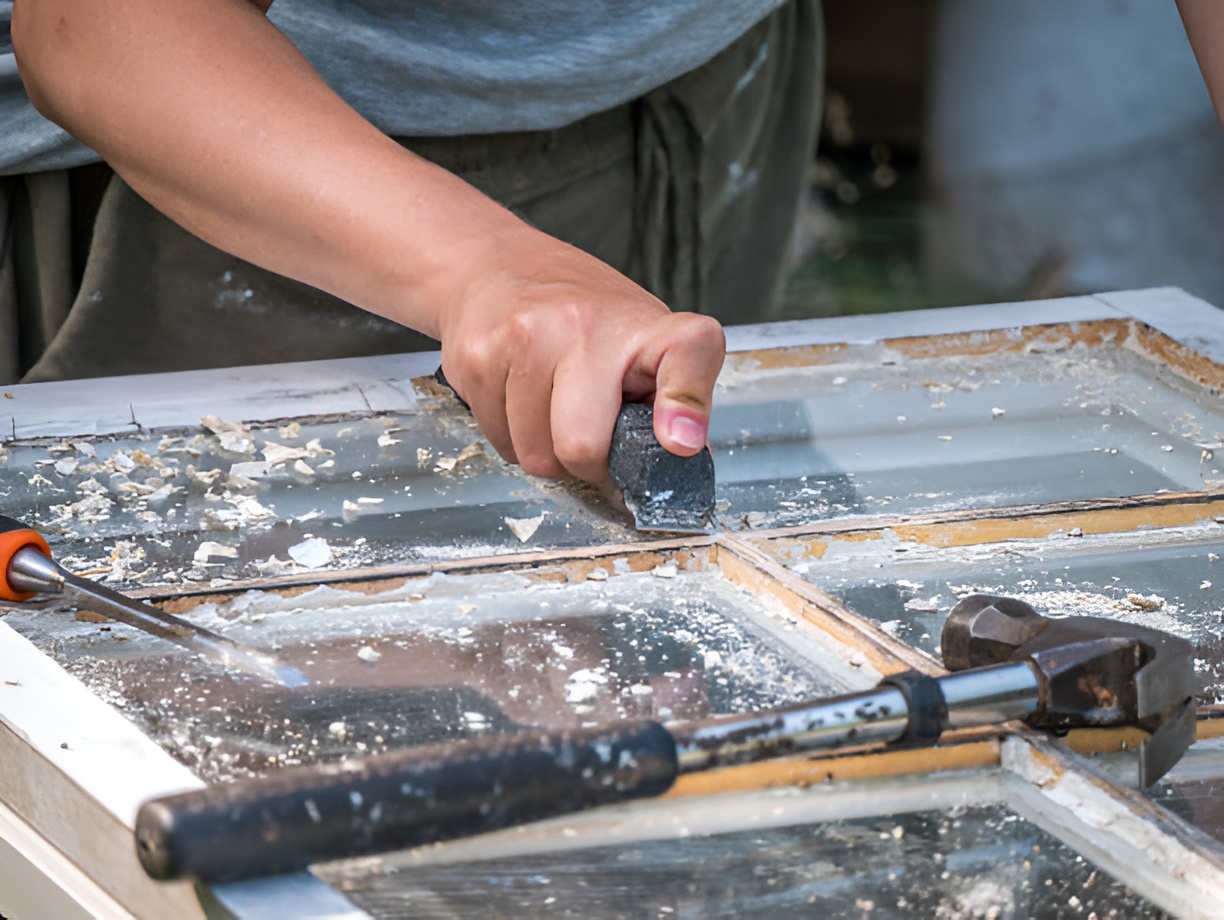
Step 1: Remove the Old Putty
- Put on gloves and safety glasses.
- Use a utility knife to score the old putty around the glass.
- Carefully pry the putty away with a putty knife.
- Remove any old glazing points (small metal clips holding the glass).
- Clean the frame thoroughly with a wire brush or sandpaper.
Pro Tip: Take your time—removing old putty carefully reduces the risk of breaking the glass.
Step 2: Check the Glass and Frame
- Inspect the glass for cracks. Replace if necessary.
- Check the frame for rot, damage, or uneven surfaces. Repair any issues before glazing.
- Make sure the frame is dry and clean—moisture can prevent putty from adhering properly.
Step 3: Apply the New Glazing Putty
- Roll the putty into thin ropes or logs.
- Press the putty into the frame along the edge of the glass.
- Use a putty knife to smooth it out, creating a neat, angled finish.
- Insert glazing points to secure the glass if needed.
Tip: A smooth, even application not only looks better but seals the window more effectively against drafts.
Step 4: Let It Cure
- Traditional putty may take 7-14 days to fully cure.
- Keep the window closed and avoid touching the putty during this time.
- Modern sealants may cure faster—check the manufacturer’s instructions.
Step 5: Paint the Glazed Frame (Optional)
- Once cured, painting over the putty protects it from weathering.
- Use a paint that matches your window frame for a clean finish.
- Painting also improves the seal and further enhances energy efficiency.
Tips for Glazing Windows Efficiently
Here are some practical tips to make the process smoother and ensure your windows perform optimally:
- Work on a mild day; extreme cold or heat can affect curing.
- If you’re glazing multiple windows, clean and prep them all before applying putty.
- Keep your putty at room temperature for easier handling.
- Use painter’s tape along the edges if you want clean lines.
- Practice on a small window first if you’re new to glazing.
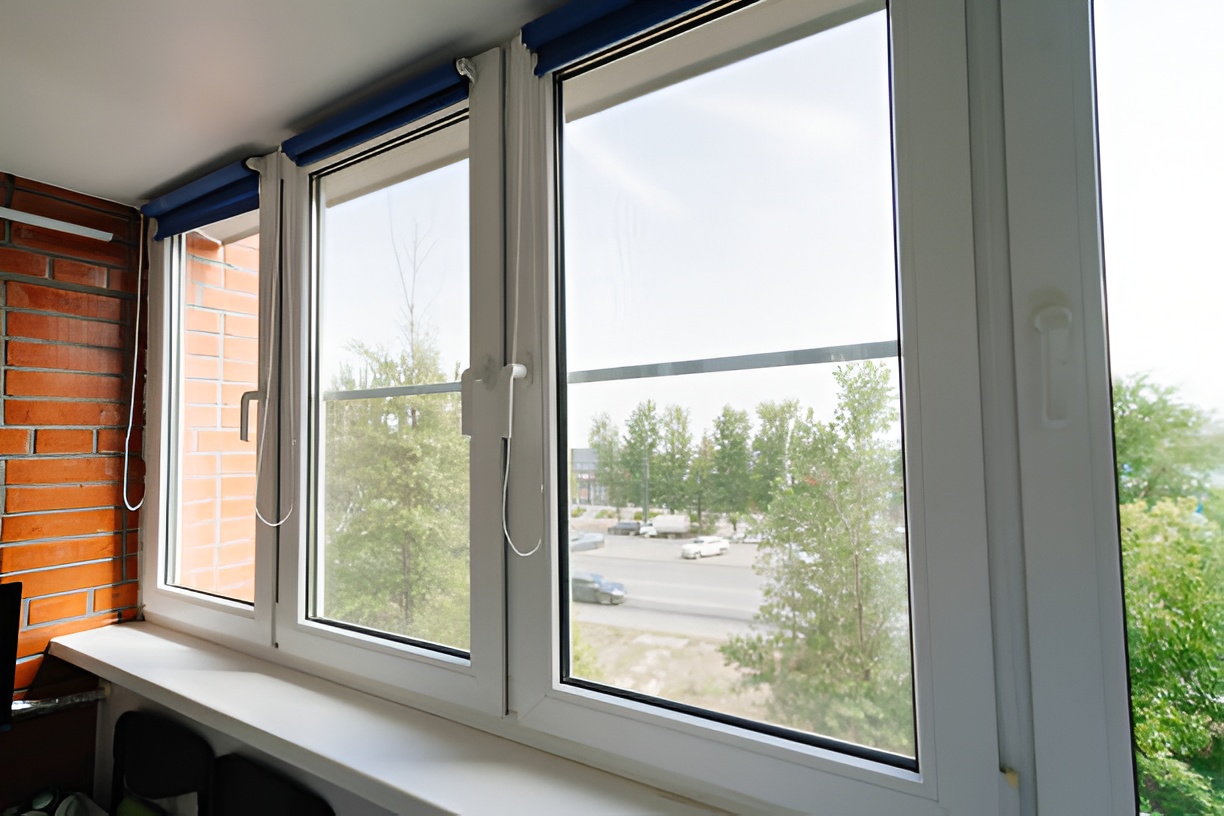
How Glazing Improves Energy Efficiency
Glazing improves energy efficiency in several ways:
- Air Sealing: Properly glazed windows prevent cold air from entering in winter and hot air in summer.
- Insulation Boost: A tight seal reduces heat transfer through the glass.
- Moisture Control: Condensation is minimized, protecting frames and preventing mold growth.
- Longevity: Well-sealed windows last longer, reducing the need for replacements.
For new homeowners, this means lower energy bills and a more comfortable home year-round.
Common Mistakes to Avoid When Glazing Windows
Even small mistakes can compromise your glazing project. Watch out for these:
- Applying putty too thinly, causing gaps.
- Not removing all old putty, which prevents proper adhesion.
- Skipping glazing points on large panes—this can cause glass to loosen.
- Painting before the putty has cured.
- Ignoring damaged frames or glass, which reduces energy efficiency.
Can You Glaze Double-Paned Windows?
Many modern windows are double-paned or even triple-paned. While glazing traditional single-pane windows is straightforward, double-paned windows usually come pre-sealed. Here’s what to know:
- Double-paned windows are sealed at the factory with an inert gas between panes.
- Re-glazing may not be necessary unless the window seal is broken.
- If the seal fails, consider professional replacement or repair.
How Often Should You Re-Glaze Windows?
The lifespan of window glazing depends on the climate, window type, and materials. Here’s a rough guideline:
- Traditional wooden windows: every 10-15 years.
- Modern vinyl or composite windows: 15-20 years, if putty or sealant starts to crack.
- Inspect annually for signs of gaps, cracks, or moisture.
Regular inspection prevents energy loss and keeps your windows in good condition.
Budget-Friendly Ways to Boost Energy Efficiency Alongside Glazing
Glazing is just one part of making your home energy-efficient. You can combine it with other strategies:
- Weatherstripping: Add or replace weatherstripping around doors and windows.
- Thermal Curtains: Install heavy curtains or blinds to reduce heat loss.
- Window Films: Apply insulating films to reduce heat transfer.
- Draft Stoppers: Use door and window draft stoppers to block air leaks.
- Upgrade to Low-E Glass: Consider Low-E (low-emissivity) glass for maximum insulation.
Even small improvements can significantly reduce your energy bills.
DIY vs. Hiring a Professional
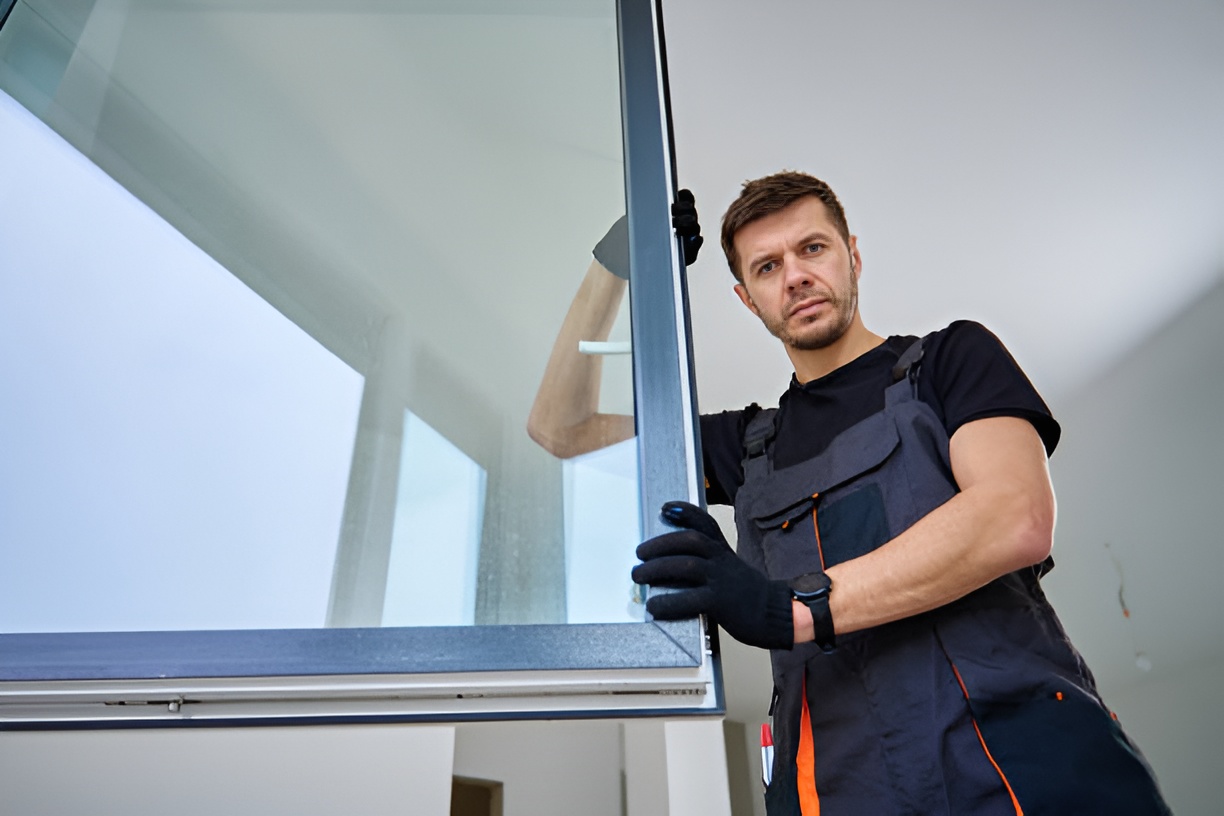
While how to glaze a window for energy efficiency is doable as a DIY project, there are situations where a professional is worth considering:
- Large or high windows that are hard to reach.
- Broken or double-paned windows needing specialized repairs.
- Historical windows that require specific materials or techniques.
- Homeowners who want a flawless, long-lasting finish without learning the technique.
Professionals have the experience and tools to ensure windows are sealed perfectly, which can save money in the long term.
How Glazing Adds Value to Your Home
Aside from energy savings, well-glazed windows can increase your home’s value:
- Improved curb appeal with neat, finished windows.
- Lower utility bills make your home more attractive to buyers.
- Extended lifespan of windows reduces future maintenance costs.
For new homeowners, investing a little time in glazing can pay off in comfort and resale value.
Safety Precautions to Keep in Mind
Even though glazing is a manageable DIY task, safety is important:
- Always wear gloves and safety glasses.
- Work carefully around glass edges to prevent cuts.
- Keep children and pets away from the work area.
- Avoid using old or cracked glass.
- Dispose of old putty safely, especially if it contains lead (common in homes built before 1978).
How to Maintain Glazed Windows
After you’ve glazed your windows, maintenance is key:
- Inspect for cracks or gaps annually.
- Touch up putty or sealant as needed.
- Keep frames clean and free of debris.
- Repaint putty when it begins to show wear.
Consistent maintenance ensures your windows stay energy-efficient for years.
Wrapping It Up
Learning how to glaze a window for energy efficiency is a smart move for any new homeowner. Not only does it save money on energy bills, but it also improves comfort, prevents drafts, and extends the life of your windows. With the right tools, materials, and patience, glazing can be a rewarding DIY project.
Take the time to inspect your windows, remove old putty, apply fresh sealant, and follow proper curing and painting steps. Pair this with other energy-saving strategies, and you’ll enjoy a cozy, efficient home all year round.